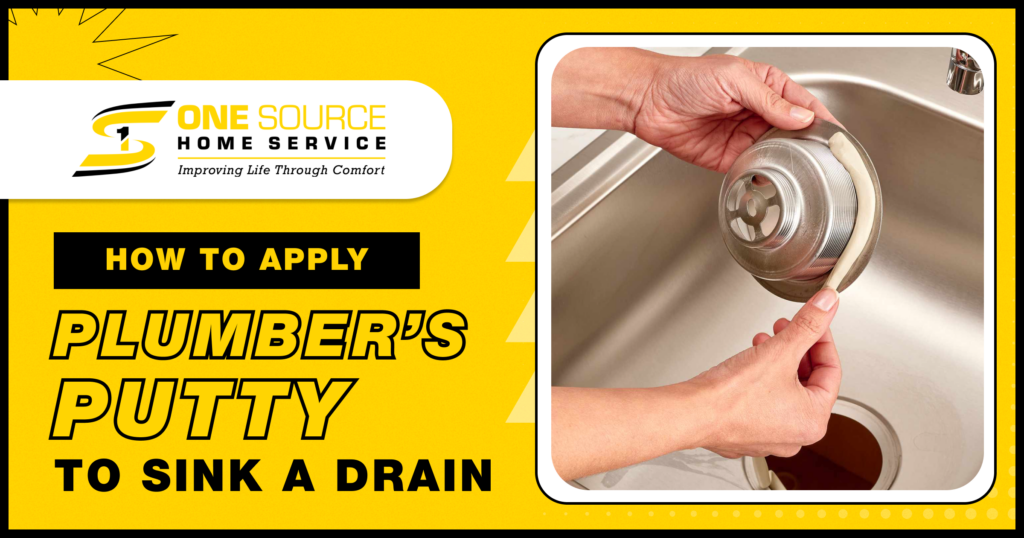
There are certain issues that arise in our homes that not everyone knows how to fix, and that’s alright. At One Source Home Service in Colorado Springs, CO we enjoy educating the public on the various repairs that need to be done from time to time. In this article, we will outline the process of how to apply plumber’s putty to a sink drain. Side note: it’s not as hard as you think.
When is a Plumber’s Putty Needed?
Plumber’s putty is most often used to fix minor leaks in the bathroom and kitchen drains, as well other plumbing pipes. Normally though, this is a temporary fix that avoids replacement for a while. With time the fixture or piping will need to be replaced. Below, we will summarize the process of applying putty along with the tools that are generally required for this work. Just remember, you don’t have to do this alone; call a partner to assist you or hire a plumber in Colorado Springs!
Tools Needed
- Pipe Wrench
- Bucket
- Putty Knife
- Cloth
- Rag
1. Turn Off the Water
First thing’s first, turn off the water. This can be done by turning off the valves below the sink or by turning off the main water supply to the entire house. Doing so will help prevent any accidental water sprays which can lead to a mess and even some damage.
Is this an emergency plumbing project? Check out our blog post to learn what plumbing repairs require emergency repair.
2. Disassemble to Drain Pipe
Position a bucket beneath the P-pipe and begin to disassemble the drain pipe. Loose the nuts that connect the pipes to the drain with your pipe wrench. Do the same thing with the strainer pipe as the base of the sink. Make sure to let out debris or extra water into your bucket.
Most drain pipes are pretty simple to disassemble, requiring the loosening of a few nuts. If you think your drain is more complicated than that, the safest route to take is to call a plumber in Colorado Springs. A professional will get the job done right!
3. Remove Base of Pipe from the Sink
Once everything is loosened, you’ll be able to remove the base of the pipe from the sink. Make sure to remove extra debris and wipe everything dry. In order for the putty to stick to the pipe, the area where you will be placing it must be dry.
If you’re working on a commercial drain pipe, you may want to consider hiring a commercial plumber in Colorado Springs to help fix the issue for you.
4. Warm a Piece of Putty Between Hands
Remove a section of putty from its container and rub it between your hands to warm it for molding. You will find that it feels similar to playing with dough. The more you run it between your hands, the more it will become malleable.
5. Form Putty into 1/8”-1/4” Thick Rope
Once the putty is pliable and easy to work with, form the putty into a rope with a thickness of 1/8 to 1/4 inches, depending on the size of the leak. The length will also depend on the circumference of the pipe. Make sure it is able to wrap around the pipe comfortably.
If your leak is larger than what the putty can fix, or if you’re reapplying it again, it may be time for a visit from a plumber in Colorado Springs.
6. Place Putty Into Designated Location
After you have your rope formed, place it in the designated location. Typically, putty is applied at pipe junctions where leaks seep through. This helps seal in the crack and stop the damage of water leaks.
7. Put Pipe Back Into Its Place
With the putty placed securely in its location, place the pipe back into its location. You will have the sealing action happening right away as the pipe reconnects with the basin or other pipe. Make sure to press around the flange or sink strainer to ensure
8. Spread & Dry the Surface
Once the pipe is placed back in its location, spread the putty at the seam to ensure an even, tight seal. Dry the surrounding surface with a towel or rag and you’re ready to use the sink again.
A Note On Plumbers’ Putty Dry Time
Putty is a very interesting material. It is highly effective for sealing leaks but what’s very odd about it is that it doesn’t dry. It will not turn into a dry material like cement and will remain soft to the touch. If this is your first time applying putty, do not be alarmed by the lack of dryness. To learn more about the wonders of putty, check out a recent blog we wrote breaking down the various ways of using putty for repairs.
Call A Plumber in Colorado Springs!
That was quite the process, wasn’t it? Although it is easy to apply plumber’s putty by yourself, the process will go even smoother when you call a professional plumber such as the ones at One Source Home Service. We are available 24/7 for your plumbing needs. Give us a call at (719) 204-1809.


